Turning an iPad or an iPhone into a Linux-based photography companion
If only an iPad or an iPhone could run Linux tools like Rsync, ExifTool, ImageMagick, etc., you wouldn't have to schlep around a Linux notebook when traveling, especially if your photographic needs are limited to keeping your photos and RAW files safe.

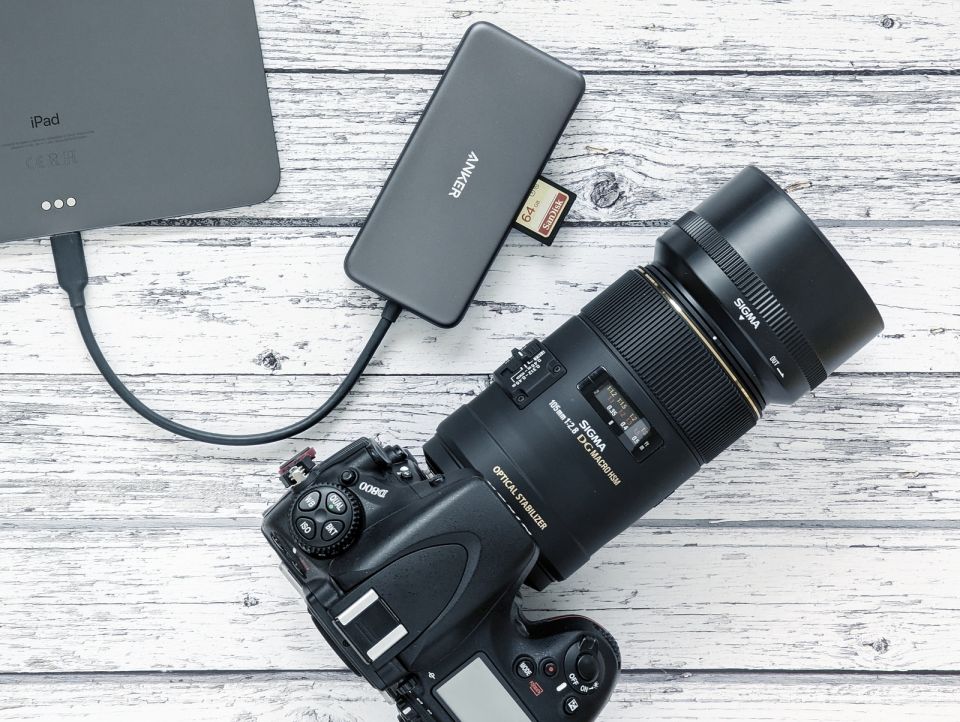
Enter iSH, an app that bestows Linux powers on Apple devices. Once installed, iSH offers a Linux environment that gives you access to a plethora of Linux tools. More importantly, iSH can access the iPadOS and iOS file systems and external storage devices connected to the iPad or the iPhone. This means that you can run commands and scripts in iSH to back up data from a storage card connected to the Apple device. Better still, if you use a USB-C hub that features both a card reader and USB connectors, you can back up data directly from a card to an external USB storage device, bypassing the iPad's or iPhone's internal storage.
On the hardware side the only thing you need is a card reader with a USB-C (for use with an iPad) or a Lightning (for use with an iPhone) connector. An even better option is a USB-C hub with a card reader and an assortment of ports for connecting a power supply, external display, and — more importantly — external USB storage devices.
Install the iSH app from the Apple Store on your iPad or iPhone. Launch the app, and run the following commands to install the required packages and clone the Git repository containing the example shell scripts:
apk update
apk upgrade
apk add bash git nano
git clone https://github.com/dmpop/safe-travels.git
chmod +x safe-travels/*.sh
The safe-travels directory contains two Bash shell scripts. As the name suggests, the local-backup.sh script can be used to back up the content of a storage card to the iPad or iPhone, no configuration required. Before you run the script, though, use the Files app to create a dedicated directory for storing backup data on the iPad or iPhone. Insert the storage card into the card reader or USB-C hub connected to the device, launch iSH, switch to the safe-travels directory, and run the ./local-backup.sh NAME command. Replace NAME with a short name to identify the card. For example, if you're about to back up a card used with a Nikon D800 camera, you can use D800 or NIKOND800 as a name. In case you use multiple cards during a trip, you can use names like Card1, Card2, etc. for each card. The script uses the specified names to create separate backup folders, thus ensuring that content from multiple cameras or cards is never mixed or, worse, overwritten.
When you run the script, it prompts you twice to select a directory. When prompted the first time, pick the directory on the storage card that contains the photos and RAW files. On the second prompt, select the dedicated backup directory on the iPad or iPhone you created earlier. Wait till the script is finished, and you're done.
Instead of backing up data to the internal storage, you can use the script to push photos and RAW files to an external USB storage device connected to the USB-C hub. In this case, on the second prompt, choose external storage device.
The remote-backup.sh script can push data from a storage card to a remote server with Rsync. Before using the script, configure the required connection settings. To do this, open the script for editing with the nano remote-backup.sh command, and configure the options in the CONFIGURATION section.
Run the script using the ./remote-backup.sh command. When prompted, pick the directory on the storage card that contains the photos and RAW files, and wait till the script is finished.
Now that you have access to a wide range of Linux tools, there are plenty of other photography-related tasks you can perform on your Apple device. Install ExifTool, and you can rename and organize the transferred photos as well as manipulate their EXIF metadata. Add ImageMagick, and you can manipulate images. In short, you can automate practically any photography-related task using nothing but an iPad or an iPhone with iSH installed on it.